November is the one month out of the year that many of us take the time to reflect on what we are thankful for. Mountain Plains Crafters is so thankful to have The Unity Stamp Company and Tombow USA Adhesives as sponsors. One lucky fan will win the big prize from both Unity Stamps and Tombow!
I'd personally like to thank Angela @ Unity Stamp Company for emptying my spending money more often than not! I have a wonderfully large Unity Stamp collection. Give them a shoutout on their
Facebook page here and visit their
website here to see their amazing line of products,and thank them for sponsoring the giveaway at MPC!
Also, since being on the MPC Design Team, I have a new found love of Tombow USA... great adhesive products! Check out the
Tombow Facebook page (give them a shout-out & thanks them for sponsoring the giveaway on MCP) and visit their
website too. There's lots of creating and inspiration going on over there.
Blog Hop Day 2 - Nov. 14th - THAT's TODAY!
Christina Ramon
Debra Davison
MariLynn DeGroot
Paula McClane - -me!
Blog Hop Day 1 - Nov. 13th - just in case you missed it yesterday!
And now for my project, I chose to make a piece for my fall wreath (I made the wreath a couple of weeks ago but it was kinda meh). I decided to do a monogram embellishment for it. Here's a little photo tutorial for you:
Step One:
You will need a plain, unfinished Letter
my last name starts with an 'M'
Step Two:
Choose your paint color
(I used acrylic paints)
and slap on a couple of coats.
My wreath will be on the front porch
under the roof, so I am not making
it weather or water proof
Allow to dry completely before proceeding.
Step Three:
Choose your accent paint color
and smear a very thin coat on
a craft mat or similar product
Step Four:
Using your selected image
{I used
Unity Stamp Company Kit of the Month
love & joy for the holidays - October 2014
pinecone & leaf}

I stamped onto the paint
then did a sample image stamp on
my craft mat before stamping on my wood letter.
Luckily with acrylic paint, if you mess up
you can just use your base color again &
take another try at it. I got it right the first time!
Since this is a very thin layer of paint, the dry time should be fairly short.
Step Five:
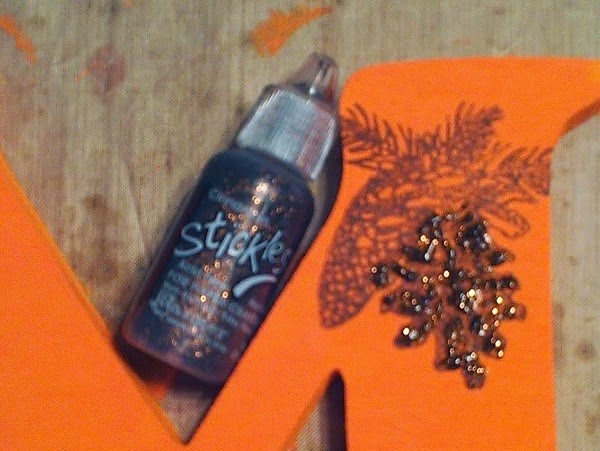
Apply the Bling
I chose to use Stickles in Cinnamon
to really make the pinecone POP.

Step Six:
Using
Tombow USA Aqua Liquid Glue,
I placed three brown dew drops along the bottom
of the 'M'
Step Seven:
Next up, Liquid Pearls in Avocado...
These I used to detail a few of the sprigs of leaves.
Be careful to stay away from the
Stickles as mine hadn't completely finished drying yet.
Step Eight:
Tie it on!
I found this great burlap ribbon at
CloseToMyHeart a while back and
don't use it nearly as often as I would like to
Finished Project
I hope you've enjoyed our blog hop!